At-Home Science Experiments: Chromatography

Port Lands Flood Protection relies on many different science and engineering disciplines. To design and build a new river, ecological habitats, parks, roads, bridges – and ultimately a new island – the team draws on everything from geotechnical engineering to environmental testing. This winter, we hosted a science and engineering fair to help people learn more about the science, technology and engineering behind this billion-dollar revitalization.
Now you can replicate some of these experiments at home.
Experiment #1: ChromatographyChromatography is a technique used to separate a mixture into its different parts. You can see chromatography in action using some simple materials from your kitchen.
Using a coffee filter, you can use chromatography to separate the different coloured dyes used in making marker ink.
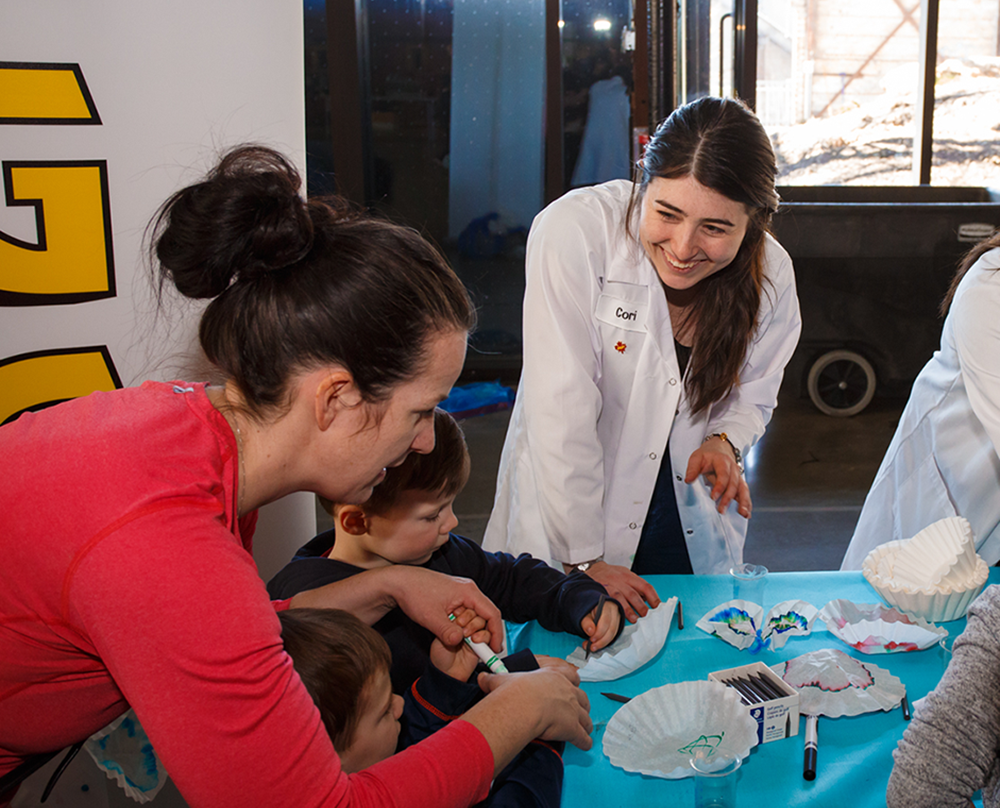
AGAT Laboratories uses a technique called chromatography to identify what is dissolved in water, and if it is safe to drink according to Ontario’s Drinking Water Standards. They showed us how chromatography works using markers and coffee filters.
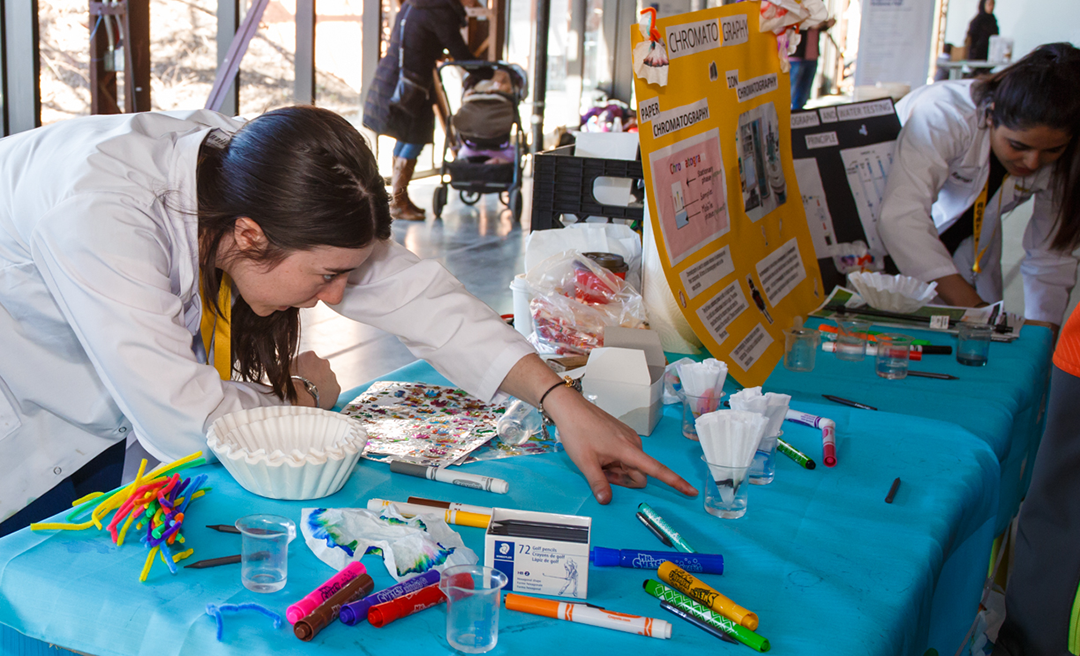
A scientist from AGAT Laboratories shows chromatography in action.
How does chromatography work?Chromatography separates a mixture into its component parts. This is done by passing the mixture through a medium. In this example, the mixture is the marker ink, and the medium is water. The components are all the different coloured dyes that make up the marker ink.
As the water moves up the coffee filter and through the marker ink, it dissolves the most soluble dyes first. These dyes get carried towards the outside of the coffee filter. Less soluble dyes get dissolved a little bit later and stay closer to the centre of the coffee filter. This lets you see which different colours make up the original ink you started with.
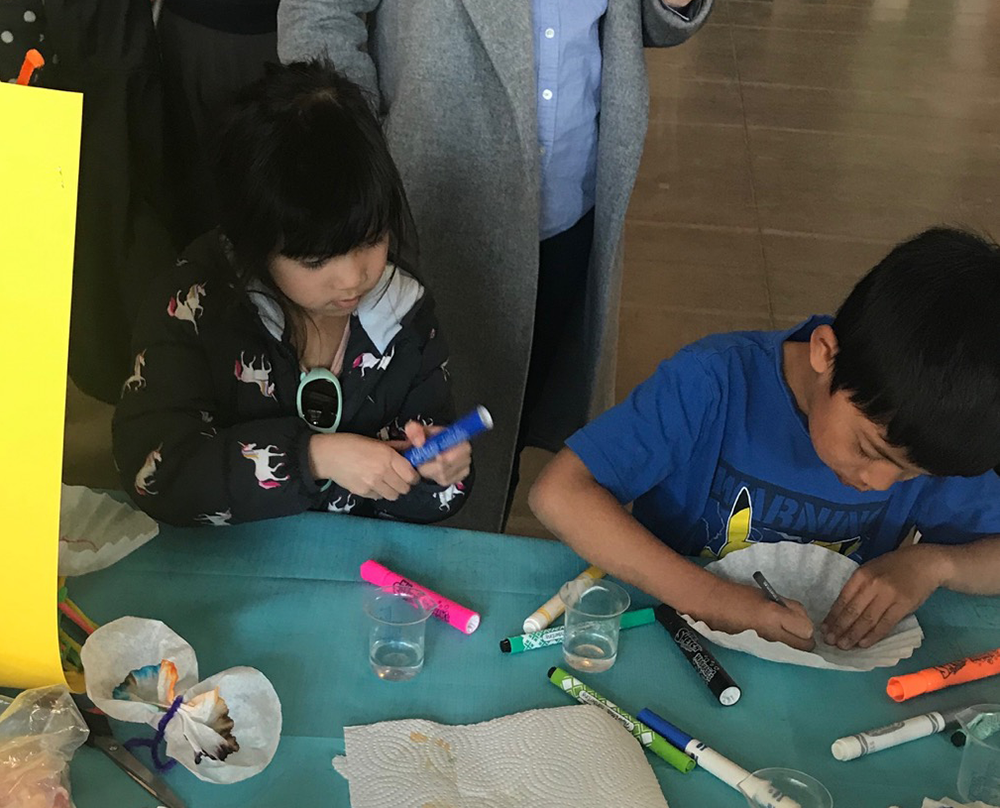
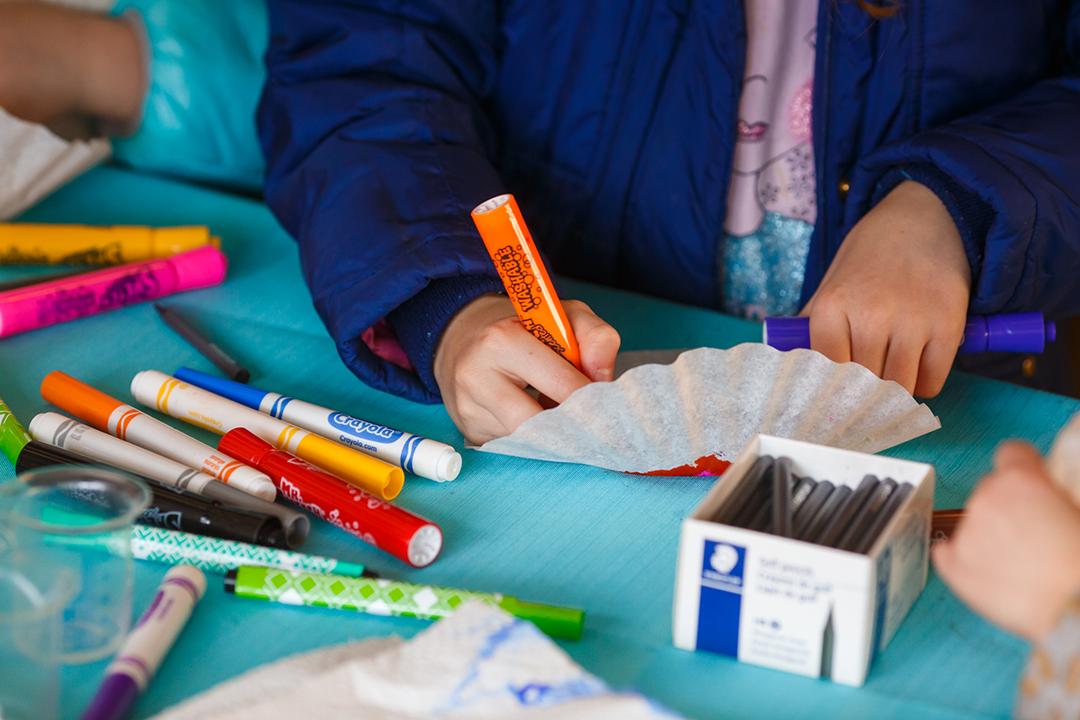 A young scientist preparing a coffee filter for chromatography.
Now, let’s try the experiment at home
What you’ll need:
- Coffee filters
- Washable markers or felt-tip pens (dark colours like black and green work best, but experiment with different colours and brands)
- A shallow cup of water
How to do the experiment:

1. Draw a circle around the centre of the coffee filter. Try not to get any ink in the centre of the coffee filter, since we don’t want it to touch the water directly.
2. Fold the coffee filter into eights, so that it is shaped like a triangle with the centre of the coffee filter at the point.
3. Put the point gently into the cup of shallow water. Try not to let the ink touch the water directly.
4. Watch as the water moves up through the marker line and carries the ink towards the outside of the coffee filter.
Just for fun:
Take your coffee filter out of the water and let it dry. Then you can bunch up the centre and tie it with a pipe cleaner to make a chromatography butterfly.
Dig deeper into the science:
Chromatography requires a mobile phase and a stationary phase. The mobile phase flows through the stationary phase, carrying the components of the mixture with it. In the coffee filter chromatography demonstration, the mobile phase is water and the stationary phase is the coffee filter. In the lab, the mobile phase is buffer solution and the stationary phase is a silicone gel. The ions separate due to their attraction to the charged silicone gel, and we can differentiate one type of ion from another based on how long it takes them to get from one end of the gel to another. This is called the retention time of the ion.